
Sanity Nextjs Social Image Generator

February 6, 2023
6 min


This has been deprecated in favour of Vercel OG image generation.
Automatically generate social share images using Sanity webhooks, and your Next.js API!
Image generation flow example
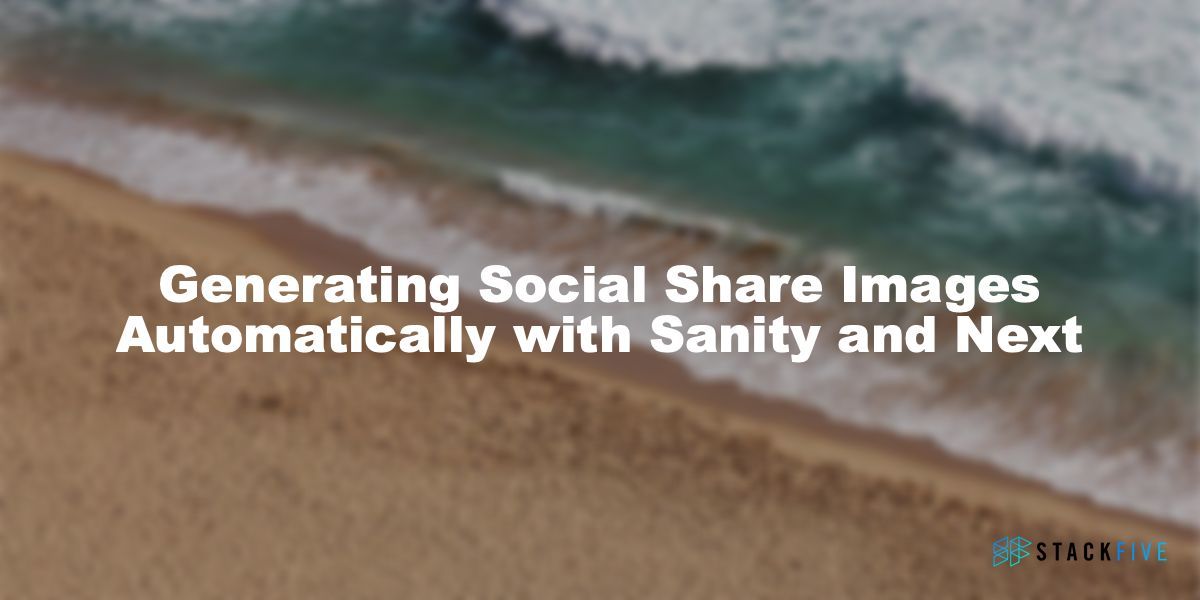
sample of generated image
Requirements
- A Next.js application
- A Sanity account and studio set up
- A Redis database (we recommend Upstash - it's free!).
Note: Redis is necessary because we need a caching layer to prevent an infinite update loop in Sanity's webhooks when the library updates your social image. Also, we need to use a Redis service to solve this because Vercel's serverless functions are stateless, so we can not manage caching locally.
Setup
1) Create a webhook in Sanity
Whenever an article is updated in your Sanity studio, we want Sanity to notify our Next.js app, and send along the data we need to generate the social share image.
- Log in to the Sanity Dashboard
- Select your project, and click on the "API" tab
- Click the "Create Webhook" button
- Set up a webhook with the following options:
Name: Can be anything you wantURL: The URL your webhook will hit to trigger the image generation (if you're deployed to vercel, it might look something like: https://your-app.vercel.app/api/generate-preview-image).
Note: If you want to test this functionality in your local dev environment, you will need to use an Ngrok URL to point to your localhost. More information on this can be found here.Dataset: "Production"Trigger on: Create, UpdateFilter: Depending on your Sanity schemas, you can define different types of documents you'd like to generate social share images for. For example, if you wanted to add a social share image to your articles or topic pages, you would use:
_type == 'article' || _type == 'topic'Projection: Please follow the same data structure as below. These are the pieces of data that the social image generator needs to properly generate your image:
1{ "text": title, _id, "imageUrl": image.asset->url }Text: The text field you want to display on your social image. In the above example, it's our "title" field in our Sanity schemaimageUrl: The background image that you want to display on your social image. In the above example, it's our "image" field in our Sanity schema

webhook config
- Click the "Save" button at the bottom of the page.
2) Create a Sanity Editor Token
If your Next.js application does not currently have a Read / Write token in Sanity
- In the API tab, scroll down to the bottom of the page and click on "Add API Token"
- Add a name, like "Social Share Image Generation"
- Select "Editor" under permissions
- Click "Save"
- Copy your token and save it in your Next.js environment variables. You will need this later!
3) Update your Sanity Schema
In your Sanity project, add a new field to the document schema that you will be generating social share images for.
- Add the field
{ name : 'shareImage', title : 'Social Media Image', description: 'This is automatically generated by Next.js and can not be modified.', type : 'image', readOnly : true },
- Publish your schema update (e.g.
sanity deploy)
4) Install the package in your Next App
In your Next.js application, run the following command to install this package:
yarn add sanity-next-social-image-generator
ornpm install sanity-next-social-image-generator --save
5) Create a Next.js API Route
This is used to receive Sanity's webhook requests.
- Create a new file in your API folder called:
pages/api/generate-preview-image.js - Paste the following code into this file:
1import { createImageClient } from 'sanity-next-social-image-generator';
2
3// Create the client
4const client = createImageClient({
5  dataset: 'production',
6  projectId: process.env.SANITY_PROJECT_ID,
7  redisUrl: process.env.REDIS_URL,
8  token: process.env.SANITY_READ_WRITE_TOKEN,
9});
10
11const logo = require('./my-logo.jpg');
12
13export default async function generatePreviewImage(req, res) {
14  // Generate the image when Sanity's webhook hits your API
15  const { imageUrl, text, _id, _type } = req.body;
16
17  try {
18    await client.generateImage({
19      id: _id,
20      backgroundImageUrl: imageUrl,
21      text,
22      blur: 10,
23      darken: 50,
24      logo,
25      logoPosition: 'bottomRight',
26    });
27    res.status(200).send('Ok');
28  } catch(e) {
29    res.status(500).send(e);
30  }
31};6) Update your Next.js page(s)' meta tags
In your Next.js page where you are using your article data, make sure you add your new image to your meta tags so that is shows up when your share your article!
Example page:
1import Head from 'next/head';
2import createImageUrlBuilder from '@sanity/image-url';
3
4const urlFor = (source) => createImageUrlBuilder(config).image(source);
5
6export default function MyArticlePage({ data }) {
7  return (
8    <div>
9      <Head>
10        {/* Add your meta tags */}
11        <meta property="og:image" content={urlFor(data?.page?.shareImage?.asset).url()} />
12        <meta name="twitter:image" content={urlFor(data?.page?.shareImage?.asset).url()} />
13      </Head>
14      {/* Page Content */}
15    </div>
16  );
17}
18
19export async function getStaticProps() {
20  // Fetch your article data from Sanity
21  const page = fetch('...');
22
23  return {
24    props: {
25      data: {
26        page
27      },
28    },
29  }
30}Your app is now set up to receive Sanity webhooks and automatically generate your social share images!
API
Client
The client is used to authenticate with Sanity and upload your social share images. It takes the following arguments:
1const client = createImageClient({
2  dataset: 'production',
3  projectId: 'zza4oo0z',
4  redisUrl: 'rediss://username:password@url.upstash.io:37535',
5  token: '1z2n78hds83o8xnfgm0921ufh25ltri32z90-lsz2jn2b4k7db82',
6});dataset: The Sanity dataset you want to update (e.g. production)projectId: Your Sanity project IDredisUrl: The full URL of your Redis instance. We recommend using Upstash since it's free!token: Your Sanity Editor token (used for updating your article data with the social share image)
Image Options
There are many options available to you that you can use to control how your social share image will look.
All available options
1const image = await client.generateImage({
2  id: '4e40b6bf-9ad3-4c8d-a6b3-a240074c3ed0',
3  backgroundImageUrl: 'https://i.picsum.photos/id/640/1200/600.jpg?hmac=jjcV1z6Vi_dLyTdWLTS8YNiQ6MNzPoggXvEF0Lji7dE',
4  text: 'Generating Social Share Images Automatically with Sanity and Next',
5  width: 1200,
6  height: 600,
7  backgroundFit: 'cover',
8  fontSize: 50,
9  fontName: 'Arial Black',
10  fontColor: 'white',
11  blur: 5,
12  logo: 'https://www.stackfive.io/images/stackfive-logo-large.png',
13  logoPosition: 'bottomRight',
14  filterColor: '#07ae9d',
15  darken: 25,
16  lighten: 1.25,
17});id: Required The ID of the document you are adding a social share image tobackgroundImageUrl: Required The URL for the main image on your social share image. This can be any image, but typically you will use an image you define in Sanity (see Creating a Webhook in Sanity for more details)text: Optional The text that will be displayed on your cardwidth: Optional The width of your social share imageheight: Optional The height of your social share imagebackgroundFit: Optional How the image should be resized to fit the dimensions. Can be one of cover, contain, fill, inside or outside.fontColor: Optional The color of your textfontSize: The size of your font. Note: You might need to modify this if you change the default width and height of the social share imagefontName: Optional The name of the font you want to use (font family)blur: Optional Add blur to your background imagedarken: Optional Darken your background image (# from 1-100)lighten: Optional Brighten up your background image (each number is a multiplier)logo: Optional The URL or Buffer of your logologoPosition: Optional Where you would like to place your logo on the image. Can be one of topLeft, topRight, bottomRight, or bottomLeft.logoWidth: Optional Adjust the width of your logologoHeight: Optional Adjust the height of your logologoFit: Optional How the image should be resized to fit the dimensions. Can be one of cover, contain, fill, inside or outside.filterColor: Optional Add a filter color overlay over the background image. Must be a hex code, or a valid css color type.
Creating an NGROK URL for Local Testing
If you want to test this functionality locally, your Sanity webhook will have to point to an NGROK URL. Ngrok tunnels your local environment, and creates a public URL.
Setup:
- Follow the NGROK setup guide here
- Run the following command in your terminal to expose your Next.js application:
ngrok http 3000 - Copy the https URL that NGROK provides, and update your Sanity webhook URL to use this instead
If you followed the above steps, the Sanity webhook should now start hitting your localhost API. You can also configure a production and a dev webhook to use two different URLs if you wish.
Known Issues
M1 Macbooks
Node 16.x may cause issues on M1 Macbooks due to the Sharp library being used to process images.
If you run into an error in your Next.js application when using this library that says Module parse failed: Unexpected character '?', try updating your local Node version to 17.x.
Contributing
Pull requests are welcomed! Husky is set up to lint and format your code. Please also update the README.md file with any modifications you make.
There is a sample tool set up in sample/index.js to generate and save image files locally. You can run yarn sample to run this code while you are testing. The output file will be saved in /sample/output/sample.jpg.
Issues and Feature Requests
Please open an issue if you face any bugs, or would like to request new features.


